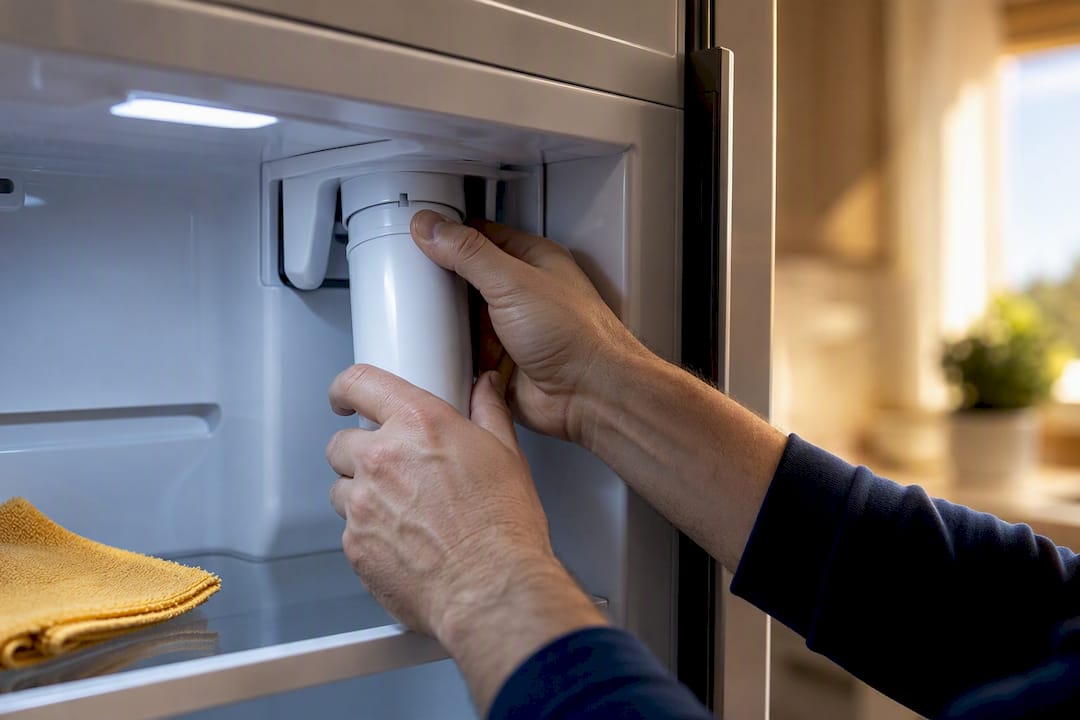
If your refrigerator water filter is stuck, shut off the water supply to the fridge, dispense several cups through the door until flow slows, then try the correct release action for your model, either a quarter turn counterclockwise or a full press on the eject button. Skip straight to grip and heat before that, and you’re fighting water pressure that hasn’t gone anywhere. If you hear cracking, feel the housing flex, or the release button does nothing after these safe attempts, stop and call a technician.
TL;DR:
- Most stuck filters result from water pressure or ice buildup, which can often be relieved by bleeding the line before attempting removal.
- Using the correct release method for your filter type, along with proper grip tools like strap wrenches, minimizes the risk of damaging the plastic housing.
- Applying warmth with a damp cloth or low-heat hair dryer can help thaw frost that causes ice locking the filter in place.
- Forcing a filter with pliers or excessive torque can crack the housing, especially if signs of damage like cracking or flexing are present, requiring professional repair.
- When the filter or housing shows signs of visible damage or resistance persists despite safe attempts, scheduling a professional service is the safest and most efficient option.
Table of Contents
- Where Is My Refrigerator Water Filter and What Type Is It?
- How Do You Safely Prep Before Removing a Stuck Filter?
- Step-by-Step Methods to Free a Stuck Water Filter
- Match Your Symptoms to the Right Fix
- When Should You Stop and Call a Technician?
- What a Repair Tech Actually Sees on These Calls
- Get an In-Home Fix Without the Guesswork
- Where to Verify Model-Specific Instructions
- Sources
- FAQ
Where Is My Refrigerator Water Filter and What Type Is It?
You can’t fix a filter you can’t identify, and refrigerators hide them in four common spots: the base grille near the floor, inside the fresh food compartment on the upper right or left wall, behind a small door panel, or as an inline canister tucked at the back near the water line. Each location tends to favor a particular design.
- Twist-in / quarter-turn filters sit in a socket and release with a rotation, usually a quarter turn counterclockwise.
- Push-button filters eject when you press and hold a button on the filter cap itself.
- Cartridge-in-socket designs slide straight out or in, sometimes needing a slight twist to clear an internal tab.
The fastest way to confirm which one you have is your owner’s manual or a quick model-number search on the manufacturer’s site. Whirlpool, GE, and LG all publish model-specific removal instructions that spell out the exact motion, and guessing wrong is one of the most common reasons people force a filter the wrong direction.
How Do You Safely Prep Before Removing a Stuck Filter?
Before you touch the filter, handle the water and power side of things. Skipping this step is why so many “stuck filter” jobs turn into a mop-and-bucket situation.
- Locate the water supply valve, usually behind the fridge or under the sink, and turn it fully clockwise to shut it off.
- Confirm it’s closed by trying the dispenser. It should slow to a trickle and stop.
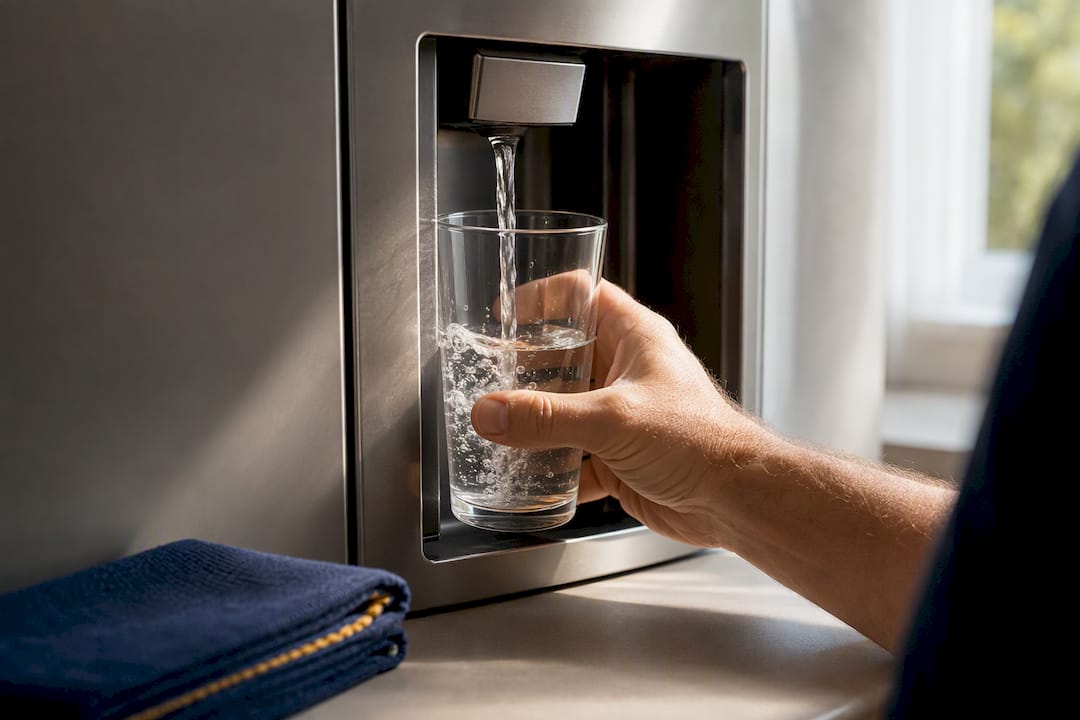
- Dispense several cups of water through the door dispenser until the flow tapers off, which relieves pressure trapped against the internal O-rings.
- If your model’s manual recommends it, switch off power at the outlet before opening the filter compartment.
- Lay a towel under the filter area and keep a cup handy. Some residual water always drips out.
Gather a rubber jar-opener sheet, a strap wrench, a soft towel, and channel-lock pliers as a true last resort. Avoid open flame or high heat near plastic housings, and never lean into a hard twist. Excessive torque is the single fastest way to snap a filter cap or crack the socket.
Pro Tip: Dispensing water isn’t optional even if you’ve already shut off the valve. Trapped water in the line keeps the O-rings loaded against the housing, and that residual pressure is often the entire reason the filter won’t budge.
Step-by-Step Methods to Free a Stuck Water Filter
Work through these in order. Most filters release in the first two or three steps. Jumping straight to pliers is how a simple swap turns into a housing replacement.
- Try the manufacturer release again, slowly. For quarter-turn models, rotate counterclockwise with steady, even pressure rather than a jerk. For push-button models, hold the button all the way in for a full two to three seconds. Some designs need the dispenser pressed simultaneously while you turn the cartridge.
- Bleed the line one more time. If you skipped ahead, shut the valve and run the dispenser until it slows. This single step resolves a surprising share of “stuck” filters because the water pressure was doing the locking, not the plastic threads.
- Warm the collar. A ring of frost around the filter neck can act almost like a weld. Wrap a warm, damp cloth around the base for a couple of minutes, or use a hair dryer on low heat in short bursts, moving it constantly so you don’t warp the plastic housing.
- Improve your grip. Wrap a rubber jar-opener sheet around the cap for better traction, or use a strap wrench: loop the strap around the filter cap, pull it snug, and rotate with even, gentle pressure. A strap wrench spreads force evenly across the cap in a way that fingers alone can’t, and it won’t chew up the plastic the way serrated jaws will.
- Use pliers only as a controlled last resort. Wrap the cap in a cloth first, grip only the cap (never the housing), and apply steady, moderate force. Whirlpool’s own guidance is explicit that forcing a filter without this cushion is what cracks housings.
- Improve your access if needed. Pulling the base grille or an adjustable shelf out of the way sometimes gives you a better angle and more room to work than fighting it blind.
Success feels like a smooth release with little resistance at the end, not a sudden snap. Once it’s out, check the socket for water pooling or a loose O-ring before installing the new filter.
Pro Tip: If the filter turns but feels gritty or catches unevenly partway through, back it off and re-seat it straight before continuing. A tilted cartridge binding against its guide tabs is a different problem than a locked filter, and twisting harder just wears the tabs down.
Match Your Symptoms to the Right Fix
Different failure patterns call for different fixes, and guessing wrong wastes time and risks the housing.
- Dispenser was used right before you noticed the jam → likely pressure lock → shut the valve, bleed the line, and retry the release motion.
- Filter area feels cold or you spot frost on the collar → ice is gluing the seal → thaw with a warm cloth before attempting any twist.
- Push button doesn’t click or feels dead → the latch mechanism may be reset by reinserting the filter and working the button gently; if it still won’t engage, that’s a service call.
- Filter rotates but binds strangely partway → wrong angle or a tab catching on its guide → re-seat it fully and try the turn again.
Pressure, ice, and latch failure account for the bulk of stuck-filter calls according to service-focused troubleshooting guides, and each one has a specific fix rather than one universal trick. If you hear a crackle, see the base grille flex, or feel debris shifting inside the socket as you turn, that’s your cue to stop immediately rather than push through it.
When Should You Stop and Call a Technician?
Certain signs mean continuing on your own risks turning a $20 filter swap into a housing repair.
- A cracking or popping sound during any twist or pull.
- Visible flex or bowing in the base grille or filter compartment wall.
- Snapped tabs, or plastic fragments you can feel or see inside the socket.
- A release button or latch that stays unresponsive after you’ve tried reinserting and gently working it.
If a filter head has already broken and left fragments in the socket, forcing a new filter into that compromised base usually makes things worse, not better. A technician will typically inspect the filter head, O-rings, and the surrounding housing, and may need to replace one of those parts rather than just the filter itself. Before you call, have your fridge’s model number ready, note exactly which steps you tried, and confirm whether the water supply is currently on or off. That single detail alone speeds up diagnosis more than almost anything else you can tell them.
What a Repair Tech Actually Sees on These Calls
Most stuck filters that come across a repair tech’s desk turn out to be pressure or alignment problems, not a defective part. Bleeding the line first and using the correct release motion resolves more jobs than any tool ever will.
Strap wrenches beat pliers nearly every time because they distribute force across the whole cap instead of biting into one weak point, and a heat gun is overkill that risks warping plastic a warm cloth handles just fine. Writing down the model number before you start saves a second trip. If the filter head has already cracked, the fix isn’t a bigger tool, it’s a housing replacement.
— Rich
Get an In-Home Fix Without the Guesswork
If the filter still won’t budge after safe attempts, or the housing already looks compromised, Anothercycleappliance handles stuck-filter extraction and full refrigerator repair right in your home across Southern New Hampshire, backed by transparent pricing and a one-year warranty on parts and labor. A service visit typically includes a quick diagnosis of whether you’re dealing with pressure, ice, or a broken latch, gentle extraction or part replacement depending on what’s actually wrong, and a leak and function check before the technician leaves. For homeowners who’d rather avoid repeat filter issues altogether, the Platinum Appliance Care plan covers routine maintenance for $549 as a one-time cost. If you’re past the DIY stage, schedule service online and get it handled without another trip to the hardware store.

Where to Verify Model-Specific Instructions
Check your model’s official removal steps directly from the manufacturer before attempting anything beyond the basics. Whirlpool, GE, and LG each publish free, model-specific guidance, and Consumer Reports offers an independent walkthrough worth comparing against your owner’s manual.
Sources
- Removing a Stuck Water Filter – Whirlpool product help
- How to change a refrigerator water filter – Consumer Reports
- Refrigerator water filter stuck? Get it out safely – WaterFilterAdvisor
- How to replace refrigerator water filters – Whirlpool blog
FAQ
Why can’t I get my water filter out?
The most common cause is trapped water pressure locking the O-rings against the housing, followed by ice buildup on the collar or a latch that isn’t releasing properly. Shutting off the valve and dispensing water to bleed the line resolves this in most cases before any tool is needed.
How do you fix a stuck water dispenser on a refrigerator?
A dispenser that won’t run usually points to the same pressure or line issue affecting the filter, so start by shutting off the supply valve and running the dispenser until flow returns or fully stops. If the dispenser stays dead after that, the filter housing or valve itself may need professional attention through Anothercycleappliance’s refrigerator repair service.
How do I loosen a stuck filter without breaking it?
Warm the collar with a damp cloth or low-heat hair dryer to release any frost, then use a rubber jar-opener sheet or strap wrench for better grip instead of pliers. Strap wrenches spread force evenly across the cap and are far less likely to crack plastic than a metal tool.
My Frigidaire Pure Pour water filter is stuck and won’t come out. What can I do to fix it?
Start with the same sequence regardless of brand: shut off the water, purge the line by dispensing several cups, then try the release motion your model calls for. If it still won’t move after warming the collar and using a strap wrench, stop before you risk cracking the housing and have a technician inspect it.
When is a stuck filter a sign of a bigger problem?
Cracking sounds, visible flex in the base grille, or broken tabs left in the socket all mean you should stop immediately rather than keep working at it. At that point, scheduling a service visit is the safer and usually cheaper route than continuing to force it.