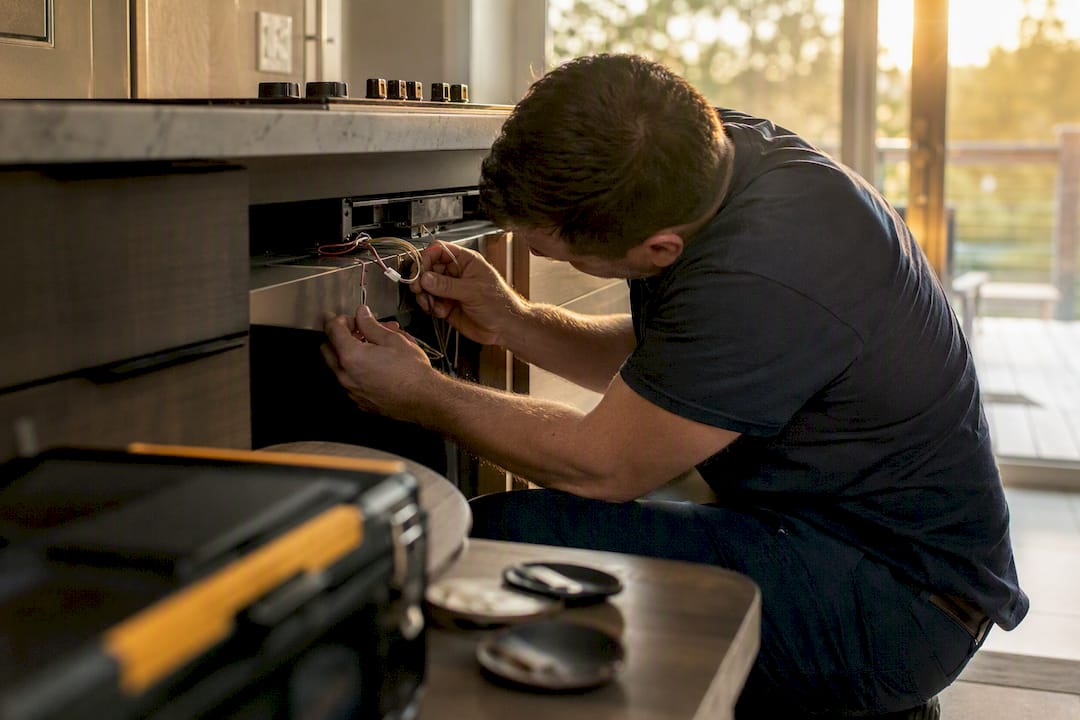
Most dead-cooktop calls come down to three things: incompatible cookware, a tripped breaker, or an active control lock. Start with the magnet test on your pan, then cut power at the breaker for one full minute before turning it back on. Write down any error code first. If those two moves don’t fix it, the problem likely needs a technician.
TL;DR:
- The magnet test helps determine if cookware is compatible, with a firm grip indicating proper induction-ready pans, while a weak hold suggests issues.
- Power cycling the breaker for one minute clears most control glitches, but ongoing faults may require professional electrical inspection, especially if multiple zones are unresponsive.
- Compatibility depends on the pan’s size, base, and magnetic properties; keeping a dedicated induction-compatible pan simplifies troubleshooting.
- Locked controls or demo mode can be mistaken for hardware failure; checking for lock icons or mode settings can resolve these issues without repairs.
- Most “not heating” calls are due to simple issues like cookware problems, lock resets, or power cycles, with more complex faults needing professional diagnosis.
Table of Contents
- Induction Cooktop Not Working? Try This 5-Step Checklist First
- Power and Wiring: Is the Cooktop Getting Enough Electricity?
- Is Your Cookware Compatible With Induction Heat?
- How Do You Turn Off the Child Lock or Exit Demo Mode?
- Why Are the Touch Controls Not Responding?
- Why Did the Cooktop Shut Off or Lose Power Mid-Cook?
- When Should You Call a Professional for Cooktop Repair?
- Technician Perspective: Common Mistakes We Fix Quickly
- Skip the Guesswork: Get a Same-Week Cooktop Diagnosis
- Sources
Induction Cooktop Not Working? Try This 5-Step Checklist First
Work through these in order. Most homeowners solve the problem before finishing the list.
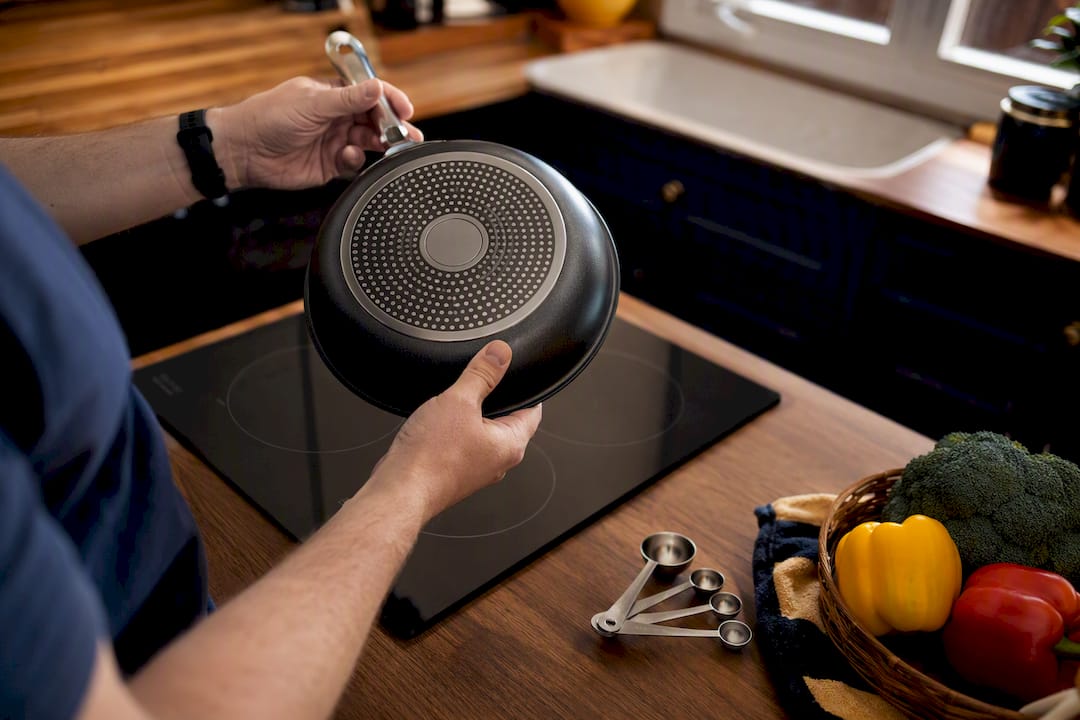
- Run the magnet test. Hold a refrigerator magnet against the pan bottom. If it grabs firmly, the pan should work; if it barely sticks or slides off, that’s your problem.
- Center a known-good pan on the zone. Off-center placement is one of the most common reasons a burner reads as empty.
- Power-cycle the breaker. Flip it off for a full minute, then back on. This clears most control-board glitches, according to manufacturer guidance from KitchenAid.
- Check for a child lock or demo mode. A locked panel often looks identical to a dead one.
- Wipe the control surface dry. Sugar and grease residue can block touch-sensor input entirely.
Note any error code on the display before you reset anything.
Power and Wiring: Is the Cooktop Getting Enough Electricity?
If the whole cooktop is dark, not just one zone, the wiring deserves a closer look before you touch anything else. Induction units draw a lot of current, and most full-size models need a dedicated 240 V circuit rather than a shared household line. A loose connection or a partially tripped breaker can starve the unit of power without fully cutting it off, which produces odd symptoms like a display that flickers or zones that heat weakly.
Try this before calling anyone:
- Check the breaker panel for a switch that’s partway between on and off, and reset it fully.
- Confirm no other high-draw appliance shares that circuit and trips it under load.
- Listen for a faint hum or fan noise. Total silence usually means no power is reaching the unit at all.
- Check if a GFCI outlet nearby has tripped, since some installations route through one.
GE’s troubleshooting documentation lists power supply as one of the first checks for a zone that won’t heat, right alongside cookware and settings.
A single dead zone with the others working almost never points to a wiring problem since it’s usually localized to that burner’s coil or sensor. A completely blank display, every zone failing at once, or a breaker that trips repeatedly signals something upstream. That’s when you call a licensed electrician to check voltage before anyone touches the appliance itself.
Is Your Cookware Compatible With Induction Heat?
Cookware issues cause more “broken cooktop” calls than any actual hardware failure. Induction only works with pans that complete a magnetic circuit, so aluminum, copper, and most stainless steel without a magnetic base won’t trigger the zone at all, even at full power.
Here’s how to check what you’re working with:
- Run the magnet test again, paying attention to how firmly it holds. A weak, wobbly grip often means the pan will heat unevenly or not register consistently.
- Confirm the pan covers at least the minimum diameter for that zone. Most manufacturers list this in the owner’s manual, and undersized pans simply won’t get detected.
- Check for a rough, warped, or heavily residue-coated base. A buildup layer on the bottom can interfere with the electromagnetic coupling the same way a bad pan does.
- Center the pan fully on the ring rather than the front or back edge.
Manufacturer support pages from GE list pan size and position among the top causes for a zone that reads as unresponsive.
Pro Tip: Keep one confirmed induction-compatible pan in the kitchen strictly for testing. When something seems off, swap it in first. It removes cookware as a variable in under thirty seconds.
How Do You Turn Off the Child Lock or Exit Demo Mode?
A locked panel is one of the easiest things to mistake for a dead appliance. Most manufacturers build in a control lock to keep kids from accidentally starting a burner, and it’s surprisingly easy to trigger by accident while wiping down the stovetop.
To check for it:
- Look for a small lock icon lit up on the display.
- Press and hold the lock icon or a designated key combo, typically for 3 to 5 seconds, per Bosch’s published unlock instructions.
- If the unit sits in a showroom-style demo mode (common on new installs), look for a “demo” or “store mode” setting in the initial setup menu and disable it there.
If none of that works and an error code is showing, write the exact code down before you reset power. Manufacturer sites like Bosch’s troubleshooting portal maintain code lists tied to specific faults.
- Record the code exactly as displayed, including letters and numbers.
- Power-cycle the breaker for one minute.
- If the same code returns immediately, it likely points to a sensor or inverter fault rather than a temporary glitch, and that’s a service call.
Why Are the Touch Controls Not Responding?
Sticky spills cause an outsized share of “the panel just stopped working” complaints, and it’s rarely the electronics at fault. Capacitive touch sensors read the tiny electrical signal from your finger, and a thin film of sugar, grease, or boiled-over sauce can scramble that signal enough to make the whole panel ignore input. Repair networks that track these calls regularly find sticky spills behind control failures that look far more serious than they actually are.
To clean it safely:
- Power off the cooktop completely, ideally at the breaker.
- Use a manufacturer-recommended glass cleaner, not an abrasive pad.
- Work sticky spots with a plastic scraper edge, never metal.
- Dry the surface completely before restoring power.
Pro Tip: If the panel responds normally right after cleaning, contamination was the culprit. If it stays unresponsive with the surface bone dry, that’s a sign the touch board itself may be failing.
Why Did the Cooktop Shut Off or Lose Power Mid-Cook?
A zone that suddenly drops power partway through cooking is often working exactly as designed, not malfunctioning. Boost features like PowerBoost run at maximum output for a limited window, usually a few minutes, then automatically step down to a lower setting. If the pan seems to “stop heating,” check whether boost simply timed out.
Thermal cutout is another normal safety behavior: if a zone or the control area overheats, it shuts down and needs a cool-down period before resuming. Before assuming a fault, check:
- Cabinet clearance underneath and behind the unit for adequate airflow.
- Any built-in ventilation fan for dust blockage or unusual noise.
- Whether overheating happens repeatedly on the same zone, which suggests an installation or component issue rather than normal protection cycling.
When Should You Call a Professional for Cooktop Repair?
Some symptoms are worth troubleshooting yourself, and some aren’t. Stop and call a technician if you notice any of these:
- The same error code returns immediately after a full power reset.
- One zone is completely dead while the others work fine.
- You smell anything burnt, or notice the glass has discolored or cracked.
- The unit trips the breaker repeatedly, even after checking for shared circuit load.
A technician’s visit typically covers a specific sequence: checking line voltage and coil continuity with a multimeter, testing the inverter or power module, running control-board diagnostics, and isolating whether the touch panel itself needs replacement. Field diagnostics for dead zones generally start with voltage and continuity checks precisely because those rule out the cheapest fixes first.
Before scheduling, have your model number ready (check the manual or interior panel for its location), photos of any error code, and a short description of what happened right before it failed. That information often cuts diagnostic time significantly.
Technician Perspective: Common Mistakes We Fix Quickly
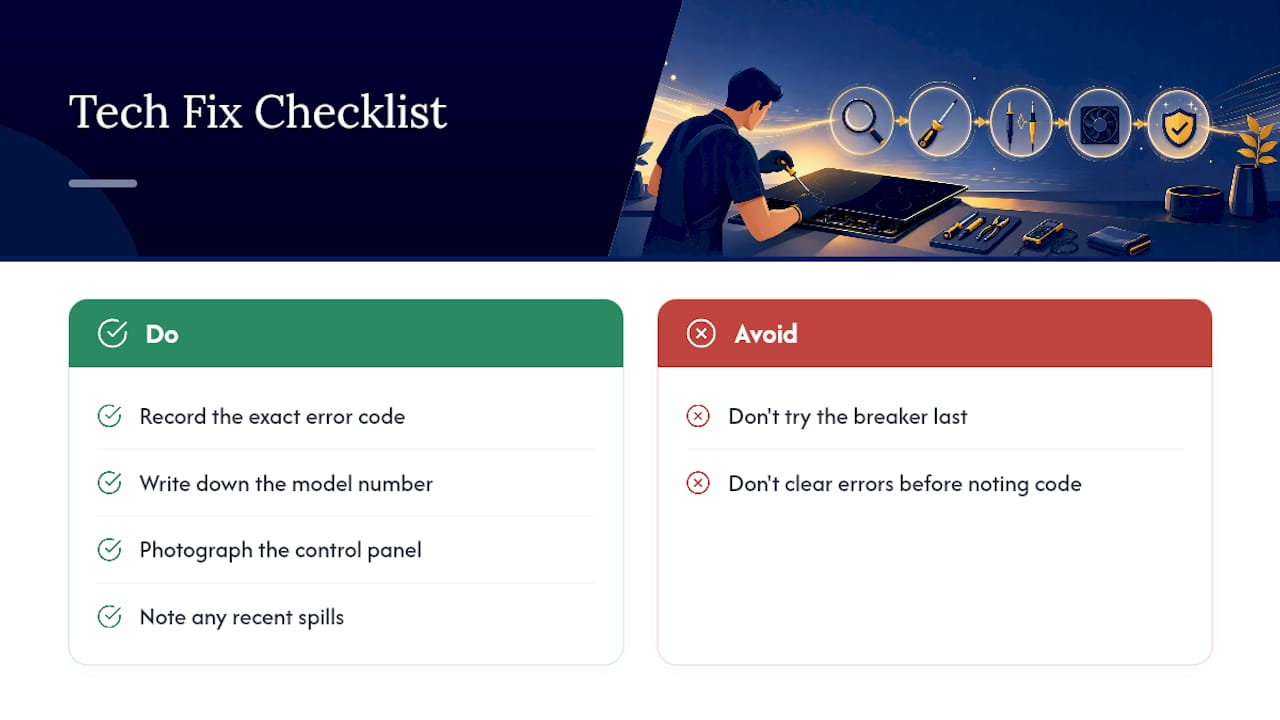
Most “not heating” calls we get are solved by the same three things: a cookware swap, a lock reset, or a plain power cycle. What slows homeowners down isn’t the fix itself, it’s the order they try things in. People often reset the breaker last, after already assuming the worst, or they never write down the error code before clearing it, which makes diagnosis harder for whoever shows up next.
Before any visit, have the model number, a couple of photos of the control panel, a note on any recent spills, and the exact error code if one appeared. That prep alone can turn a two-visit job into one.
— Rich
Skip the Guesswork: Get a Same-Week Cooktop Diagnosis
If you’ve run through the checklist and the cooktop still won’t cooperate, Anothercycleappliance sends a technician to your Southern New Hampshire home rather than making you haul a 200-pound appliance anywhere. Every repair carries a one-year warranty on parts and labor, and the business has built its reputation on straight answers and pricing you see before work starts, not after.

When you schedule, have your model number and any error code ready. It shortens the visit and often means a same-trip fix instead of a return visit for a part. If you noticed a burnt smell or discolored glass, don’t wait on that one. Book through Another Cycle Appliance Repair’s services page or head straight to schedule service online to lock in a visit this week. Cooktop-specific details and pricing live on the cooktop repair page if you want to see what a typical visit involves before you book.
Sources
For model-specific error codes and reset steps beyond what’s covered here, check the manufacturer directly. KitchenAid’s induction cooktop support covers reset procedures and code definitions, while GE’s appliance support search walks through burner-specific fixes. Tom’s Guide offers a solid independent breakdown of the most common failure points, useful for cross-checking anything model-specific documentation leaves out.
- Not Operating Correctly – Induction Cooktop – Product Help | KitchenAid
- Electric range & cooktop – induction burners not working or flashing power level (GE Appliances)
- Bosch induction cooktop troubleshooting