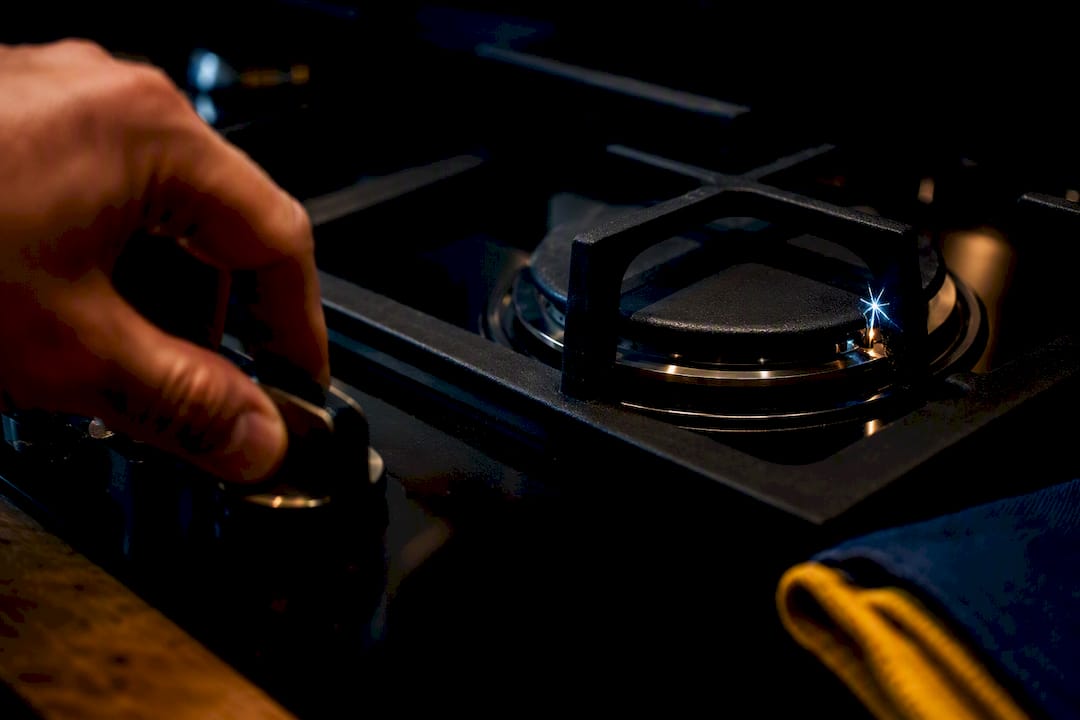
If you smell gas, stop right now: turn off the burner, ventilate the room, leave, and call your gas utility. No gas smell? Most gas burner won’t light problems trace back to a wet burner cap, clogged ports, or a power issue you can fix in ten minutes. Try drying, cleaning, and reseating the parts first. If that fails, or more than one burner is affected, it’s time to call a technician.
TL;DR:
- Most ignition issues can be resolved by cleaning and reseating the burner cap and ports, and inspecting for water, grease, or debris buildup.
- If all burners click simultaneously or no sparks occur even after cleaning, the problem likely involves the spark module or wiring, requiring professional repair.
- Gas smell at any point indicates immediate danger; leave the home and contact the gas utility before attempting further troubleshooting.
- When multiple burners fail or the flame remains weak and yellow across all, the root cause is probably upstream of individual components, such as low gas pressure or regulator failure.
- If troubleshooting does not fix the issue or safety hazards are present, it is safest to call a licensed technician rather than attempting complex repairs yourself.
Table of Contents
- Quick Fixes To Try Before Anything Else
- Step-By-Step Troubleshooting From Simple To Advanced
- When The Problem Is Bigger Than One Burner
- When You Should Stop And Call A Professional
- What A Technician Actually Sees On These Calls
- Get A Technician Out When DIY Isn’t Cutting It
- Sources
Quick Fixes To Try Before Anything Else
Before you pull anything apart, run through these five checks in order. Most gas cooktop igniter problems get solved in early cleaning and reseating steps.
- Smell test first. If you catch any hint of gas, stop immediately, shut off the burner knob, open windows, and leave the house. Call your gas utility from outside.
- Confirm power. Make sure the stove is plugged in, the breaker hasn’t tripped, and there’s no control lockout activated (many modern ranges have a lock icon lit on the display).
- Pull the grate and cap. Check for water, spilled food, or grease. Dry everything with a paper towel and let it air-dry for a few minutes.
- Clear the ports. Use a straightened paperclip or a sewing needle to gently poke out any gunk clogging the small holes around the burner head.
- Reseat and test. Set the cap back down, lining up the notches exactly, then try lighting it again and note whether you hear clicking.
Tools you’ll need: a paperclip or needle, a dry cloth or paper towel, and maybe a flashlight to see the ports clearly. Most people finish all five steps in under 15 minutes.
Pro Tip: Snap a photo of the burner cap before you remove it. Caps often look symmetrical but aren’t, and a photo saves you from guessing which way it seats when you put it back.
Step-By-Step Troubleshooting From Simple To Advanced
Once the quick checks are done, work through this sequence. It mirrors the order technicians actually use on service calls, moving from the safest checks to the ones that need more attention.
1. Verify the gas is flowing. Turn the knob to “light” for no more than a second or two and listen for a faint hiss. If you hear nothing and there’s no smell, the gas supply itself might be interrupted. Turn the knob off and check the shutoff valve behind the stove.
2. Watch what the igniter does. A clicking sound with no flame usually points to a fuel or airflow problem, not an electrical one. Total silence when you turn the knob is the opposite signal: that’s an electrical or igniter problem, since the spark mechanism isn’t even trying to fire.
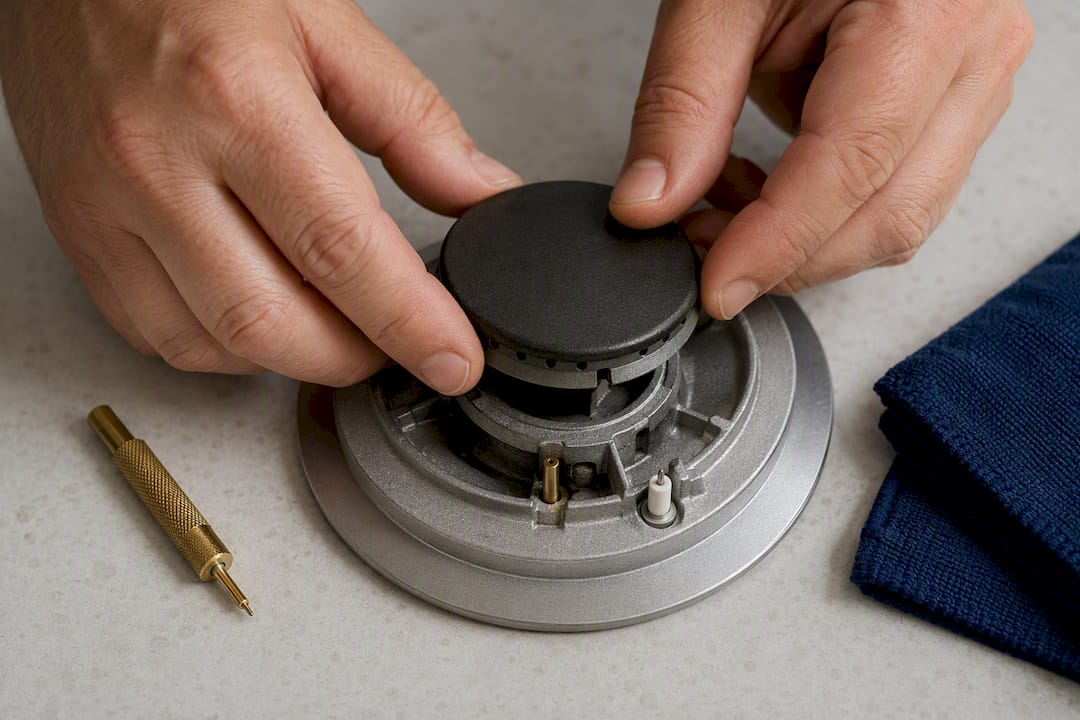
3. Clean the burner head and orifice. Use a needle or paperclip to clear the small ports around the burner cap, and a soft toothbrush to brush away grease buildup on the head itself.
- Don’t force the needle into the orifice (the tiny brass fitting the gas passes through).
- Enlarging that hole even slightly changes the flame size permanently, so work gently and stop once debris clears.
4. Dry and clean the igniter electrode. This is the small ceramic or metal tip that produces the spark, usually sitting right next to the burner port. Dampen a cotton swab with isopropyl alcohol and wipe it clean, then let it air-dry fully. Look closely for hairline cracks in the ceramic. A cracked igniter tip sparks weakly or not at all and needs replacing rather than cleaning.
5. Check the cap alignment. Most caps have small locating notches or flat edges that only fit one way. Even a slight tilt keeps the igniter too far from the gas port to spark reliably, which is one of the most common reasons a gas cooktop clicks but never lights.
Reading the results: if one burner is now working and the rest weren’t touched, you’ve solved a localized issue. If every burner clicks endlessly with no flame, or none of them spark at all, you’re likely looking at a shared component rather than a single burner problem. Field data suggests the majority of ignition complaints resolve at this stage without needing parts replaced, so don’t assume you need a technician yet.
When The Problem Is Bigger Than One Burner
If every burner clicks in unison, or nothing sparks anywhere on the cooktop, the issue usually sits upstream of any single burner. Here’s what tends to cause that pattern and what you can safely check yourself.
- Spark module failure: one module fires all the igniters on most modern ranges, so when it dies, every burner goes silent or clicks nonstop. You can’t test this safely without disconnecting power first, and replacement is a technician-level job.
- Wiring harness damage: look for a burnt smell, discoloration near the connectors, or a harness that’s visibly chewed or frayed. Don’t touch it while the stove is plugged in.
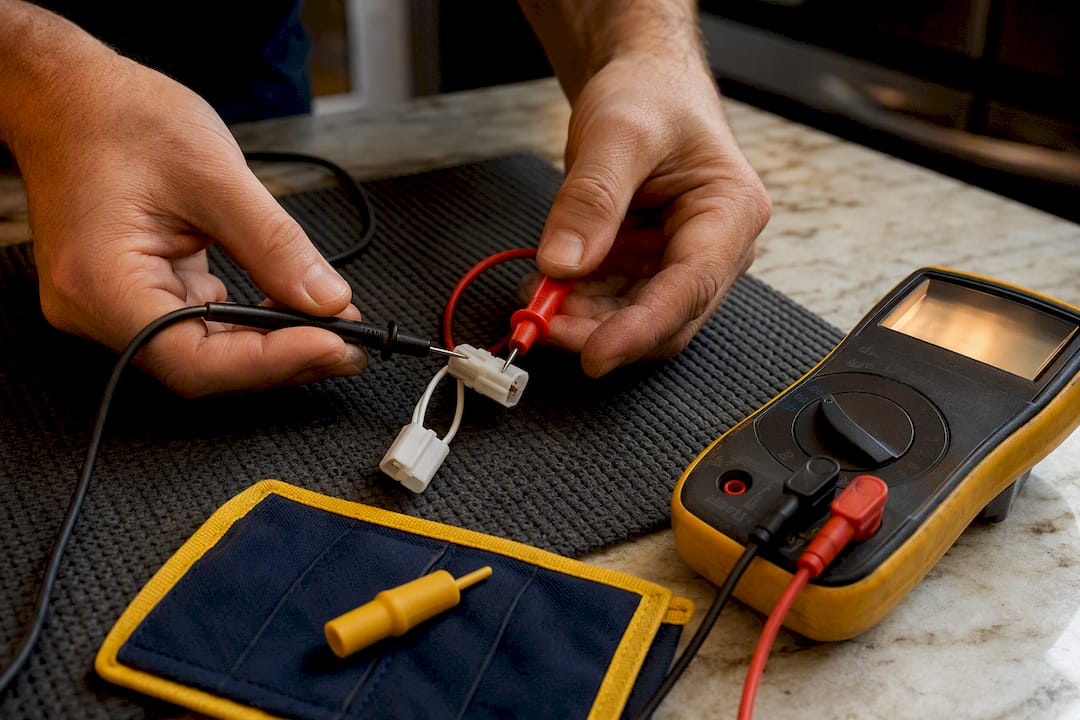
- Ignition switch failure: a single dead burner with a good igniter tip sometimes means the switch itself has failed. A non-live continuity test with a multimeter can confirm this, but only attempt it with the stove unplugged.
- Low gas pressure or a failing regulator: a weak, lazy flame across every burner (rather than no flame at all) can point to pressure problems. This is diagnosed with pressure-testing equipment a homeowner won’t have on hand.
Here are approximate time and cost ranges for common ignition-related repairs when a technician is involved. Treat these as estimates, not quotes. Parts pricing varies by brand, and older ranges sometimes need discontinued parts sourced separately.
Pro Tip: Never test a suspected wiring or valve problem with the stove plugged in. Multimeter continuity checks should always happen with the unit unplugged and, ideally, the breaker off.
When You Should Stop And Call A Professional
Some symptoms mean it’s time to put the tools down. Call a licensed appliance technician or your gas utility if you see any of the following:
- Strong gas smell at any point, even briefly. Leave the house and call the gas utility first, the technician second.
- More than one burner fails at the same time, or clicking continues even after the stove is unplugged.
- You spot melted wiring, scorch marks, or visible damage near the igniter or terminal block.
- The flame is consistently weak or yellow across every burner, which can point to low gas pressure or a regulator problem.
- You’ve completed the cleaning and drying steps above and the burner still won’t fire.
Before the call, jot down your stove’s model number, which burners are affected, what you already tried, and whether you noticed a gas smell at any point. That saves the technician a diagnostic trip and gets you a faster fix.
What A Technician Actually Sees On These Calls
Rich, from Another Cycle Appliance Repair, says the same three fixes cover the bulk of first-visit calls: clearing clogged burner ports, drying and realigning a tilted cap, and swapping out a cracked or worn igniter tip. Most of the time, homeowners have already tried the obvious stuff and just missed one small detail, like a cap seated a quarter-turn off.
A typical in-home visit runs through diagnosis first, walks through repair options before any work starts, and may include a warranty on parts and labor. That last part matters most on ignition repairs, since a part that seems fixed can act up again within a few weeks if it wasn’t the actual root cause.
— Rich
Get A Technician Out When DIY Isn’t Cutting It
This company offers direct repair service when drying, cleaning, and reseating haven’t solved the issue, without the guesswork of ordering parts yourself or guessing at what’s actually broken. They diagnose cooktop and range ignition problems in your kitchen, provide a repair quote before starting, and offer a warranty on parts and labor. Service covers homeowners in the region, and most first visits combine diagnosis and repair in a single appointment.
If you’re dealing with any of the warning signs above, especially a gas smell or multiple dead burners, skip the extra troubleshooting and schedule service online instead.
Sources
For readers who want to dig deeper: Family Handyman covers full burner cleaning steps, InspectAPedia breaks down igniter and module repairs, and This Old House explains gas safety basics.
- How To Fix a Gas Stove Burner (Family Handyman)
- Gas Stove Igniter Repair (InspectAPedia)
- Gas cooktop clicking but not lighting? 8 causes & exact fixes (Cooktop Hunter)