For most homes, you can clean a roof dryer vent without ever climbing onto the roof. If your run is under about 20 feet with fewer than two 90-degree elbows, a flexible or rotary brush from the dryer end will clear the lint. Skip straight to a rooftop check or call a professional if the cap is damaged, birds have nested in it, the run is long or bent, or airflow stays weak after you’ve cleaned from inside. Shut off gas and power before you start either way.
TL;DR:
- Roof vent cleaning is unnecessary if airflow improves after interior cleaning, especially on runs shorter than 20 feet with fewer than two elbows.
- If airflow remains weak after interior cleaning, the problem likely lies at the roof cap, such as debris, rust, or a stuck damper, requiring roof inspection.
- Flexible foil or plastic duct should be replaced with rigid metal duct to reduce fire risk and lint buildup in attics or flex transitions.
- Homeowners should prioritize checking airflow with a tissue or anemometer after cleaning to confirm the problem has been fully resolved, not just brushing the ducts.
- Professional service is advisable when the duct exceeds 20 feet, has multiple elbows, or roof cap damage, as specialists use advanced tools and camera inspections for precise repairs.
Table of Contents
- What Is Roof Dryer Vent Cleaning, Exactly?
- Tools and Safety Checklist Before You Start
- How Do You Clean a Roof Dryer Vent From Inside?
- When Should You Inspect or Clean the Roof Cap?
- How Often Should You Clean a Dryer Vent, and What Does It Cost?
- When Should You Hire a Professional Instead?
- What Do Technicians Actually Find Inside These Vents?
- Why Most Advice Skips the Part That Actually Matters
- How Another Cycle Appliance Repair Handles the Jobs DIY Can’t
- Sources
What Is Roof Dryer Vent Cleaning, Exactly?
Roof dryer vent cleaning means clearing lint and debris from the ductwork that carries hot, moist air from your dryer up through the attic and out a cap on the roof. It’s a different job than cleaning a side-wall vent, mainly because gravity and vertical runs work against you, and because the exit point sits somewhere you can’t easily see or reach.
That’s exactly why so many homeowners let it slide. A side vent, you can glance at from the yard. A roof vent disappears into the attic and stays out of sight until the dryer starts taking two cycles to do one load’s work.
Tools and Safety Checklist Before You Start
Before you touch the dryer, gather the right gear. Trying to improvise with kitchen tongs and a shop broom is how people end up with a torn duct or a lint-packed vacuum hose.
You’ll want:
- A flexible rod or rotary brush kit rated for at least 12 feet
- A cordless drill (if using a drill-driven brush head)
- A shop vac with a hose attachment
- A screwdriver or nut driver for clamps
- Work gloves, safety glasses, and a dust mask
- A flashlight, foil tape, and duct clamps
- An anemometer, if you want a numeric airflow reading (optional but useful)
If your dryer runs on gas, turn off the gas supply valve or unplug the unit according to the manufacturer’s instructions before disconnecting anything. If you’re not confident locating or shutting off the gas line safely, stop and call a technician instead of guessing.
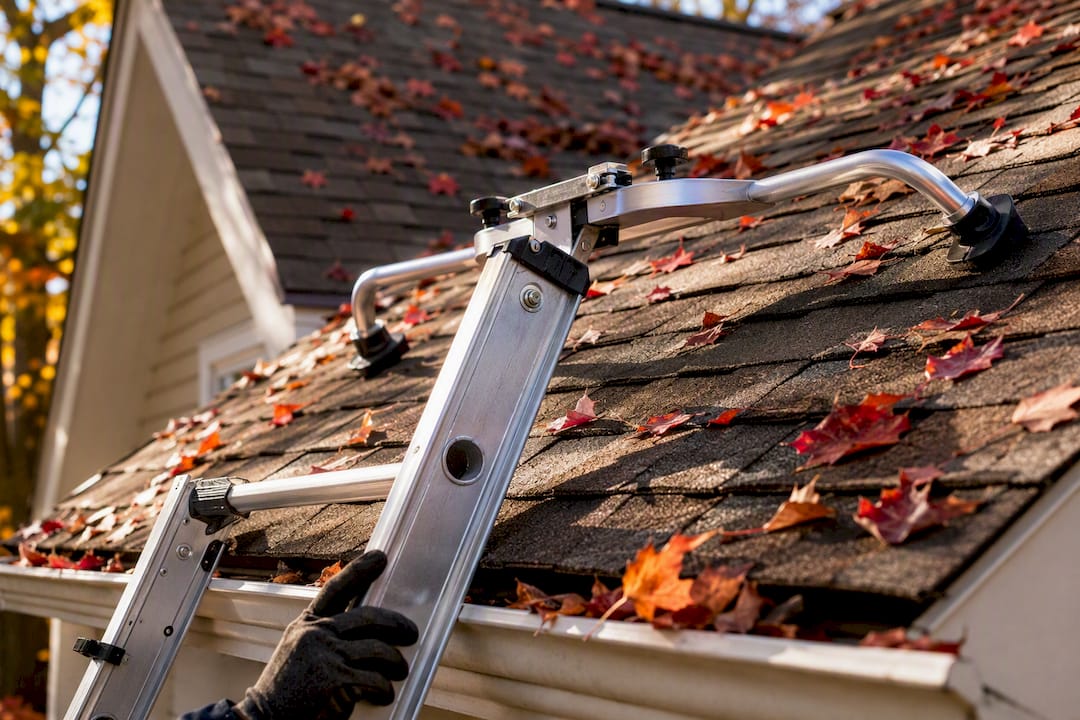
Roof access adds its own risk layer. A ladder stabilizer keeps you off the gutter, and you should never walk on brittle or steeply pitched roofing without fall protection. If your roof pitch makes you nervous standing at the base of the ladder, it’s not worth testing that nervousness thirty feet up. And if your ducting is still foil or plastic flex hose, replace it with rigid or semi-rigid metal duct. Flexible foil traps lint in its ridges and is a recognized fire hazard.
Pro Tip: Keep the shop vac running near the disconnect point the entire time you’re brushing. Lint that falls back down the duct instead of getting vacuumed just resettles at the next bend.
How Do You Clean a Roof Dryer Vent From Inside?
This is the method that solves the problem for most homes, and it doesn’t require going anywhere near the roof.
- Kill the power and gas. Unplug the dryer or shut off its gas line, then pull it away from the wall.
- Disconnect the transition hose from the back of the dryer and the wall port. If it’s foil or plastic, replace it with rigid metal duct while you’re in there.
- Vacuum the exposed exhaust port and wall opening before you insert any brush. Loose lint sitting right at the entrance will just get pushed deeper if you skip this.
- Attach the brush head to your rod (or drill-driven equivalent) and feed it slowly into the duct, advancing one rod section at a time. Rotate as you go to loosen packed lint along the walls.
- Withdraw and vacuum frequently. Pull the brush back every few feet and vacuum out what it knocked loose rather than trying to push everything all the way to the roof in one pass.
- Work bends with patience. If the rod snags at an elbow, don’t force it. Back it out, reangle, and feed it through slowly. Forcing a jammed rod is how ducts get punctured or disconnected inside the wall.
- Repeat until the brush reaches near the roof cap and you feel resistance drop off. This can take longer than people expect. On a straight run with heavy buildup, you may make eight or ten passes before the duct is genuinely clear.
Once you’ve made your final pass, run the dryer on a no-heat tumble cycle and check the exhaust at the roof cap with either a tissue held near the opening or an anemometer if you have one. A strong, steady push of air means the job worked. A weak trickle or nothing at all means the clog is farther up than your brush reached, or the problem is at the cap itself.
This inside-out approach mirrors what professional interior extraction crews use: negative-pressure vacuums combined with pneumatic agitation, pulling lint down and out rather than pushing it up toward the roof. If your DIY pass doesn’t restore airflow, don’t keep escalating with longer rods or more force. Stop, and move on to inspecting the roof cap.
When Should You Inspect or Clean the Roof Cap?
A few signs point squarely at the cap, not the duct run:
- No airflow improvement even after a thorough interior cleaning
- Visible bird nesting, leaves, or debris around the cap opening
- A damper flap that sticks or won’t swing freely
- Rust streaks, loose flashing, or water staining near the vent on the roof
If any of those apply, the fix is at the roof, and an annual inspection of the cap and damper is worth doing even when the vent seems to be working fine, since dampers can seize up gradually with no obvious symptoms. Rooftop work means removing the cap’s fasteners, clearing out nests or debris by hand, confirming the damper opens and closes on its own, and resealing the flashing (or swapping the cap entirely if it’s rusted or cracked).
This is also where mesh bird screens tend to cause trouble. Screens clog fast and are frequently the actual point of failure, so replacing a screen-style cap with a damper-style cap solves the pest problem without creating a new lint trap.
If your roof is steep, wet, or fragile, this is not the moment to prove a point. A trained technician can do this inspection safely, and if your interior cleaning already came up empty, a pro with a camera can often diagnose the exact blockage point without any guesswork.
How Often Should You Clean a Dryer Vent, and What Does It Cost?
Watch for the obvious warning signs first: clothes that take two cycles to dry, a hot laundry room, a burning smell, lint collecting outside the trap, or noticeable moisture on the walls or windows near the dryer. Any one of these means it’s time to clean now, not next month.
For upkeep, clean the lint filter every load, do a quick visual check of the vent monthly, and schedule a full roof vent cleaning regularly. Households with heavy laundry use or long, complicated duct runs should clean more frequently.
| Job type | Typical cost range |
|---|---|
| DIY cleaning kit (one-time purchase) | $30 to $150 |
| Professional roof vent cleaning | $100 to $300 |
Professional pricing climbs with roof access difficulty, duct length, and whether a camera inspection or duct repair gets added to the visit. It’s also worth keeping a record of the service. Some homeowner’s insurance policies ask for maintenance documentation if you ever file a claim related to a dryer fire or water damage from a failed cap.
When Should You Hire a Professional Instead?
Call a technician when interior cleaning doesn’t restore airflow, when your run exceeds 20 feet or has more than two elbows, when the roof cap shows visible damage, when the damper is stuck, or when the roof itself isn’t safe to access. Any gas-line uncertainty is also an automatic call, full stop.
Professionals bring tools that go beyond what a homeowner typically owns: negative-pressure vacuums, pneumatic agitation systems, and camera inspection equipment that can show exactly where a duct is crushed or blocked instead of leaving you to guess. They can also replace a damaged cap or repair duct sections in the same visit.
Before you hire anyone, ask a few direct questions:
- Are you licensed and insured?
- Is there a warranty on parts and labor?
- Does the service include a camera inspection?
- What’s the estimate, and does it cover potential repairs if something’s found?
A local appliance repair company with a track record answers those questions without hesitation, and a written warranty on the work gives you something to point to if a problem resurfaces a few months later.
What Do Technicians Actually Find Inside These Vents?
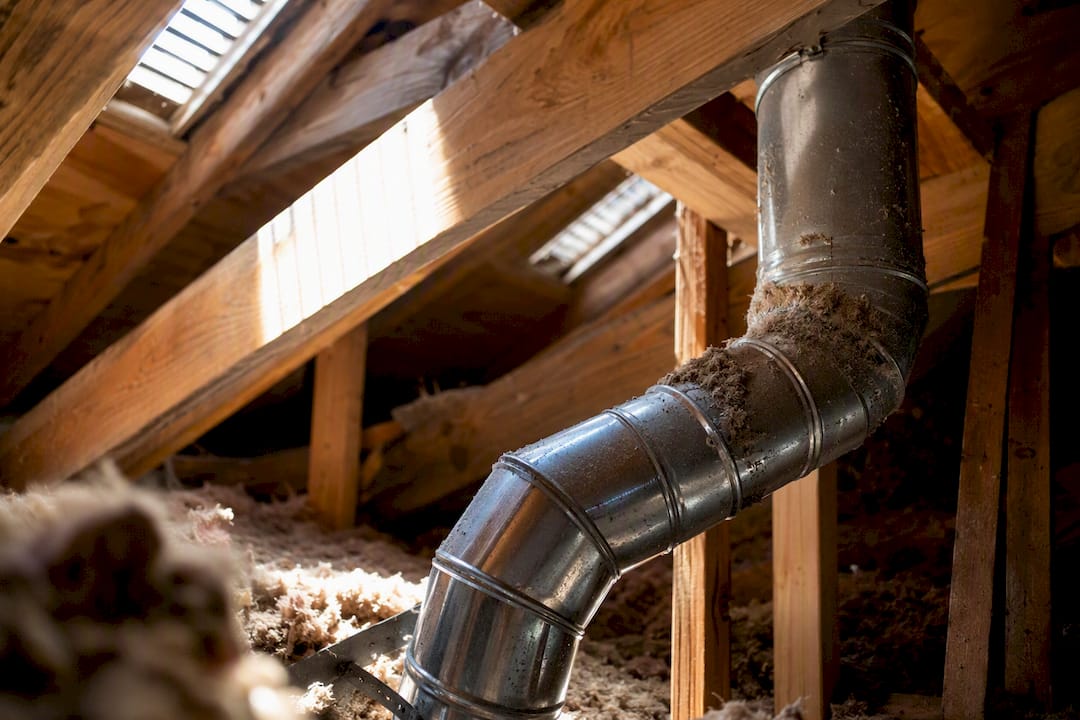
Service calls turn up the same handful of culprits again and again. Crushed or foiled ductwork tops the list, usually from a previous installer using flexible hose where rigid metal belonged. Interior sheet-metal screws are another repeat offender. They create tiny snag points that catch lint fibers and build a clog around themselves over time, which is why best practice skips interior screws entirely in favor of external clamps and UL-181 foil tape at every joint.

Cold attics cause their own headache. Condensation mixing with lint forms a sticky paste that a simple brush pass won’t fully clear, so insulating the duct run through unheated attic space keeps that buildup from forming in the first place. Stuck dampers and screen-clogged caps round out the common findings, both usually solved by swapping to a damper-style cap.
The fix that actually holds up long-term is straightforward: rigid duct, no interior screws, insulated runs, a damper cap instead of mesh, and a documented airflow check before and after the work.
Why Most Advice Skips the Part That Actually Matters
Most guides treat roof dryer vent cleaning as a single task with one right answer. It isn’t. The real skill is knowing which of two very different problems you’re facing: a lint clog you can clear yourself, or a mechanical failure at the roof cap that no amount of brushing will fix.
That distinction gets lost because brushing is the satisfying part. You can see progress, feel resistance drop, watch lint pile up in the vacuum. A stuck damper or a rusted-out cap offers no such feedback loop. You just keep brushing a duct that was never the problem.
If there’s one thing worth prioritizing, it’s the airflow check at the end. Skipping it is how homes end up with a “cleaned” vent that’s still restricted, because the cap was the actual issue the whole time. A tissue test takes ten seconds and tells you more than an hour of brushing ever will.
Where DIY guides consistently undersell the risk is roof access itself. Plenty of homeowners will spend an hour carefully brushing a duct, then climb a wet or steep roof in sneakers to check the cap, which is backward. The duct work is the safer half of this job. Treat the roof half with the caution it deserves.
— Rich
How Another Cycle Appliance Repair Handles the Jobs DIY Can’t
Anothercycleappliance is the alternative to a rooftop gamble for homeowners in Southern New Hampshire who’d rather not find out the hard way whether their roof pitch is climbable. When your interior brush pass doesn’t restore airflow, or the cap turns out to be cracked, rusted, or stuck, our technicians handle the inspection, cleaning, and repair without you ever setting foot on a ladder.

Our crews run camera inspections to pinpoint exactly where a duct is crushed or blocked, clean or replace roof caps and dampers, repair or swap out damaged ducting, and handle the dryer repair itself if the appliance side needs attention too. With nearly 20 years of service across the region, every job comes with transparent pricing up front and a one-year warranty on parts and labor. No guessing what a “cleaning” actually included.
If your dryer’s taking longer than it used to, or you already tried the inside-brush method and airflow still won’t cooperate, check out our full service lineup and get a visit scheduled. It’s a faster fix than another weekend of troubleshooting on your own.
Sources
- What You Should Know About Roof Dryer Vents — Family Handyman
- Rooftop vent access vs. cleaning from inside — Ben’s Air Duct Cleaning